Making a rubber band ball is a fun and simple project. Here's a step-by-step guide to help you create your own:
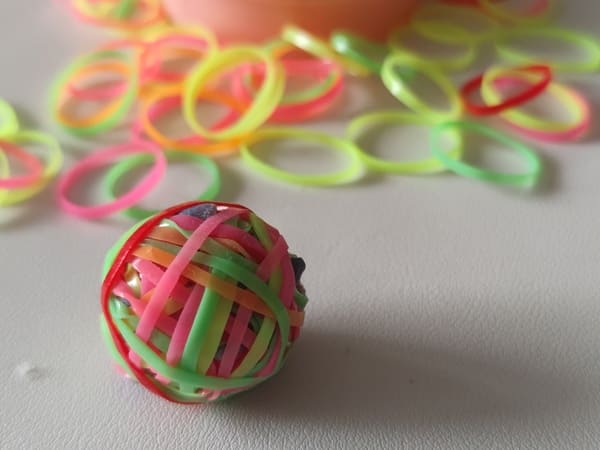
Materials:
- A collection of rubber bands (various sizes can be used, but starting with smaller ones can be helpful)
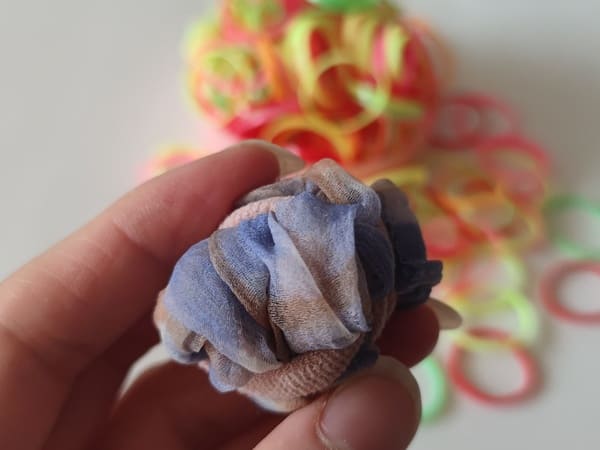
- A small "seed" or starter object (optional, but it can make the beginning easier. This could be a crumpled piece of paper or a small marble)
- Scissors (optional, to cut the rubber bands)
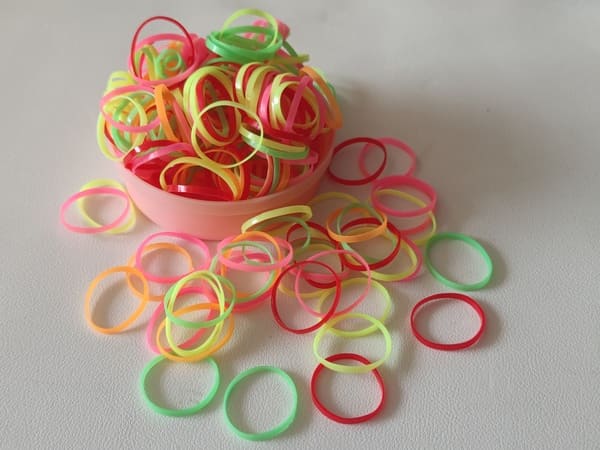
Instructions:
- Starting the Core:
- If you're using a "seed" or starter object, wrap a rubber band around it tightly.
- If you aren't using a starter, take a small rubber band and twist it into a simple knot, making a small loop. This is your starting point.
2. Layering:
- Maintaining the Shape:
- If you notice your ball starting to become misshapen, focus on adding rubber bands to the flatter sides to even it out.
- Regularly roll the ball between your hands, applying even pressure, to help maintain its round shape.
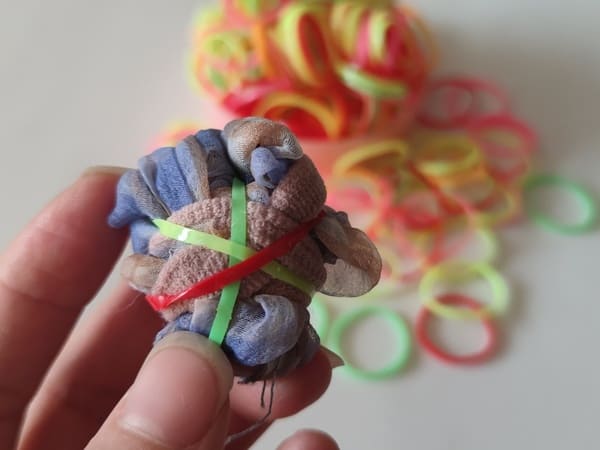
3. Growing Your Ball:
- Continue adding rubber bands, sizing up as necessary. There's no limit to how big your rubber band ball can become; it all depends on your patience and the number of rubber bands you have!
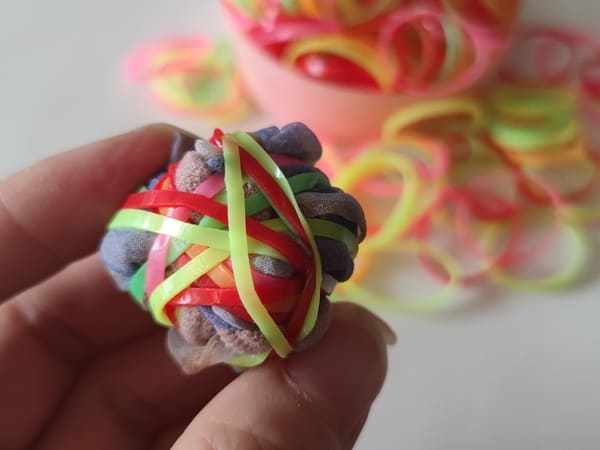
4. Finishing:
- Once you're satisfied with the size of your ball, simply tuck the last few rubber bands' ends under the layers of other bands to secure them in place.
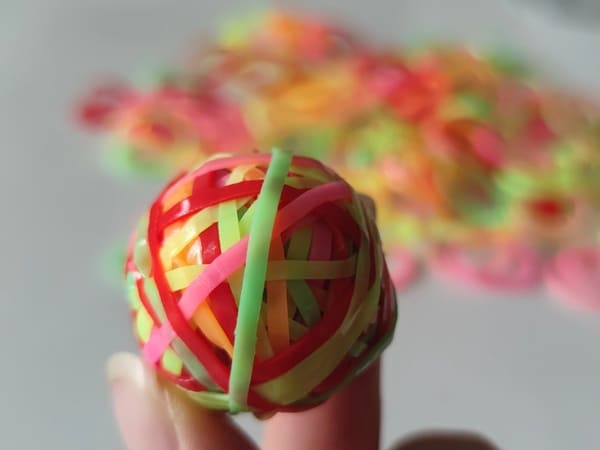
Tips:
- If you're looking for a challenge, try making a rubber band ball using only one color or creating patterns with different colored bands.
- The process can be therapeutic and is a great way to recycle rubber bands that might otherwise be thrown away.
- As your ball grows, it can be fun to bounce, and its resilience can be surprisingly good!
- You can also use rubber bands to make other fun shapes, like animals or flowers.
Safety:
- Be careful not to pull the rubber bands too hard, as they may break.
- Supervise young children when making a rubber band ball, especially if they are using scissors.
Enjoy your creation!
Once you've made your rubber band ball, you can use it for various purposes:
- Stress ball: Squeeze it in your hands to relieve stress and anxiety.
- Toy: Throw it, bounce it, or use it in other creative games.
- Decoration: Add it to your room decor for a pop of color and texture.
Making a rubber band ball is a fun and easy way to spend some time, recycle old materials, and create something unique. So grab some rubber bands and get started!


